Recover Deleted Files
When a file was deleted, its data was not immediately erased from the disk. Normally, it only be marked as "Deleted" and many other information including file data were not deleted. Then it could be recovered in most cases.
To start recovering deleted files, click the "Recover Deleted Files" button on the main screen of CuteRecovery as the following:
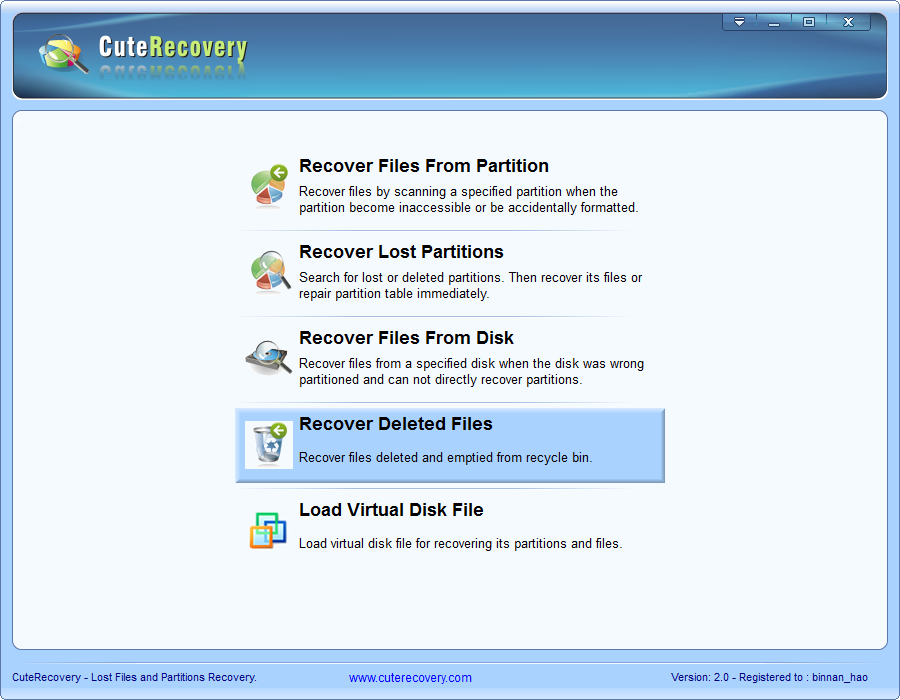
Then CuteRecovery will open the first step of the wizard of "Recover Deleted Files". As you can see on this screen, this wizard will direct you through 5 steps for this recovery operation.
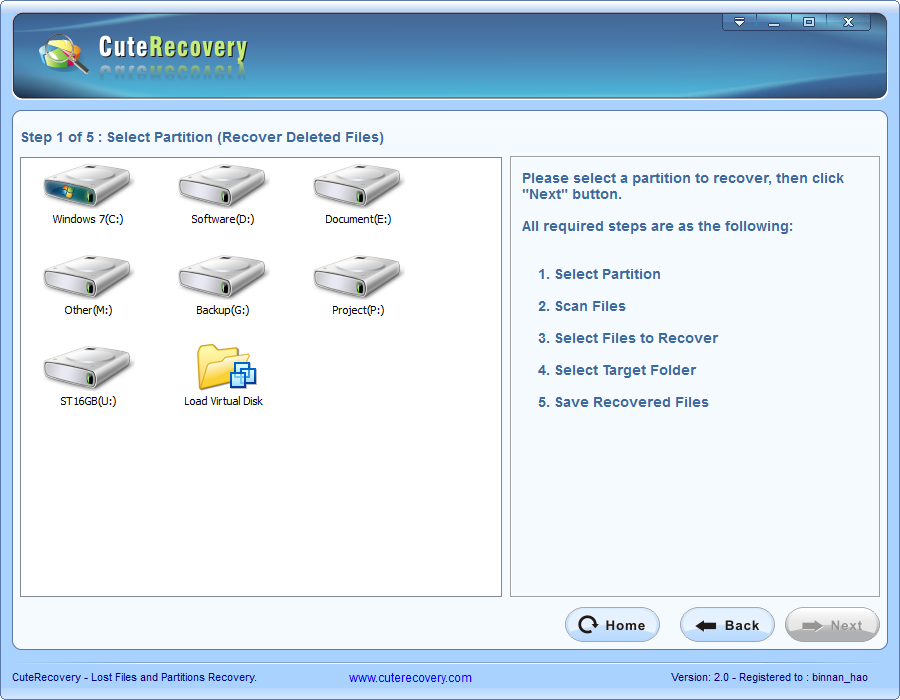
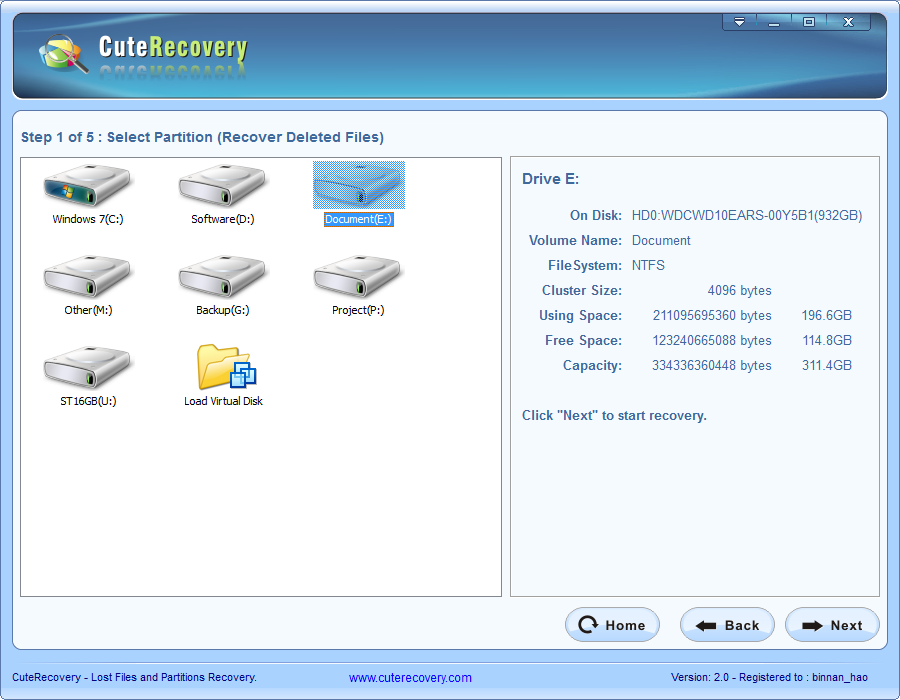
Now click the icon of the drive which you want to recover deleted files from the left panel. The general information of the selected drive will be shown on the right panel.
If the file system on the selected drive is FAT32 or FAT16, a checkbox of "Search for earlier deleted files" will displayed on the bottom of the right panel. If you want to recover the files which have been deleted by earlier deleting operations, you can select this option before clicking the "Next" button.
If the selected drive is the one to recover files, then click the "Next" button. CuteRecovery will take you into the next wizard step - "Scan Files":
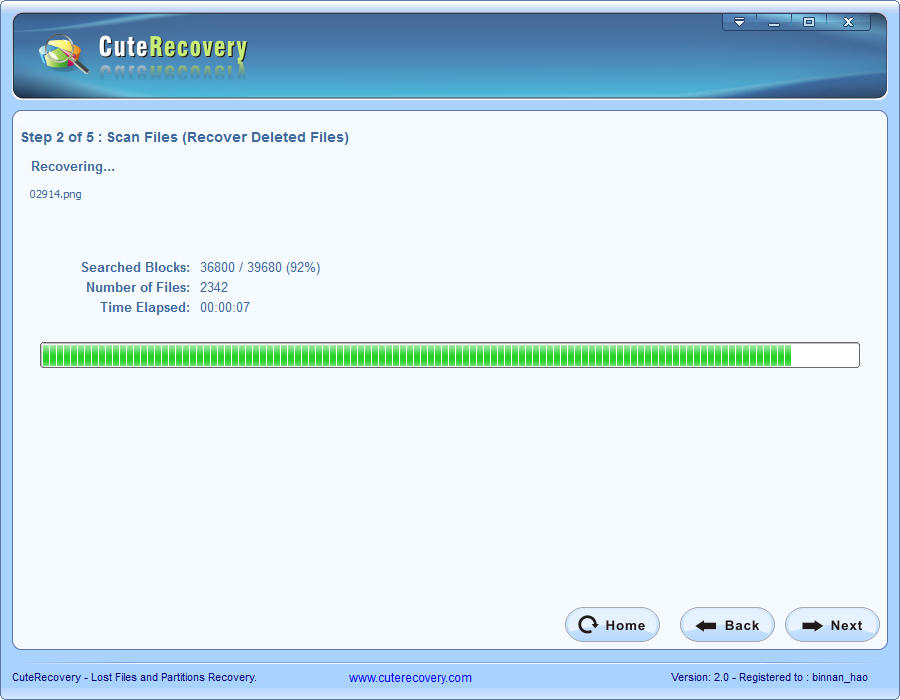
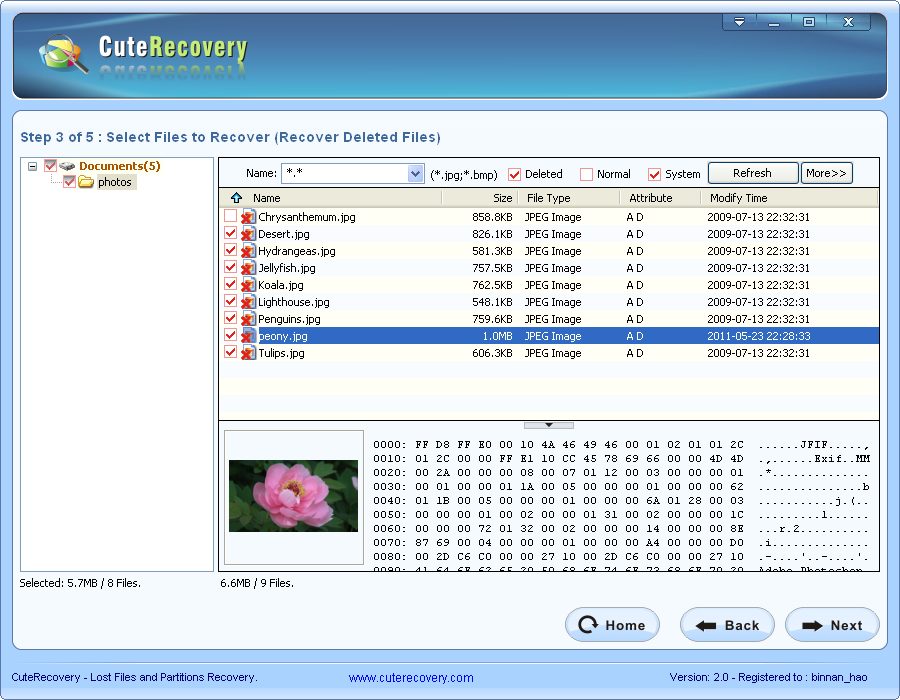
While scanning finished, CuteRecovery will display the searching result on the Step 3 - "Select Files to Recover". At this step, all the files found are listed like windows explorer. Each deleted file or folder has a checkbox on the left. Now you should check the files and folders which to be recovered and then click the "Next" button. If you clicked an image or a text file, the preview panel will show a preview of the highlighted file. This is a good way to check whether the file could be recovered.
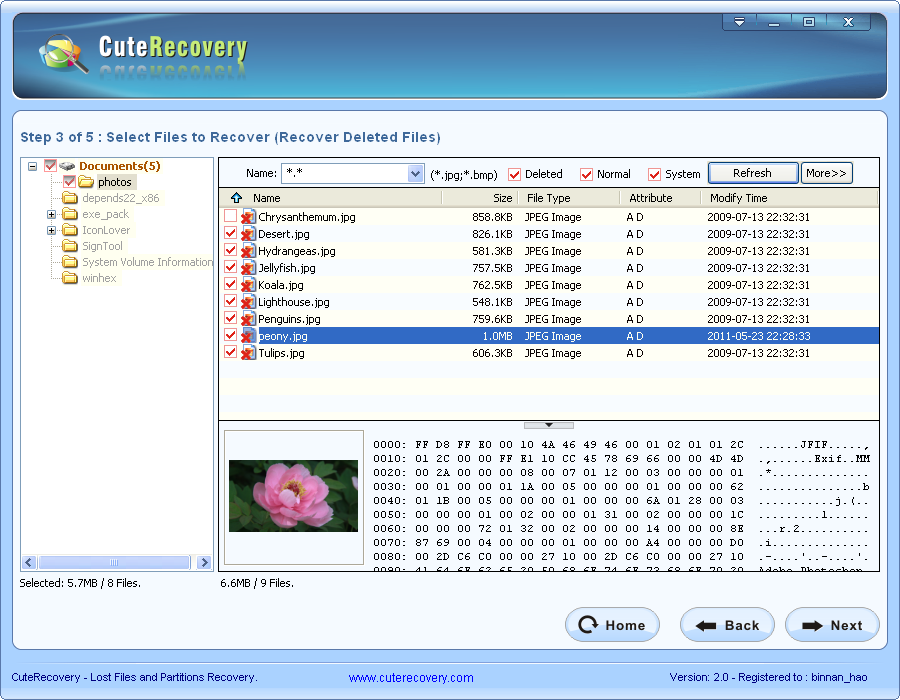
By default, only deleted files are listed. If you want to list all files including the normal files, just select the checkbox of "Normal" and then click the "Refresh" button. The files will be listed as bellow:
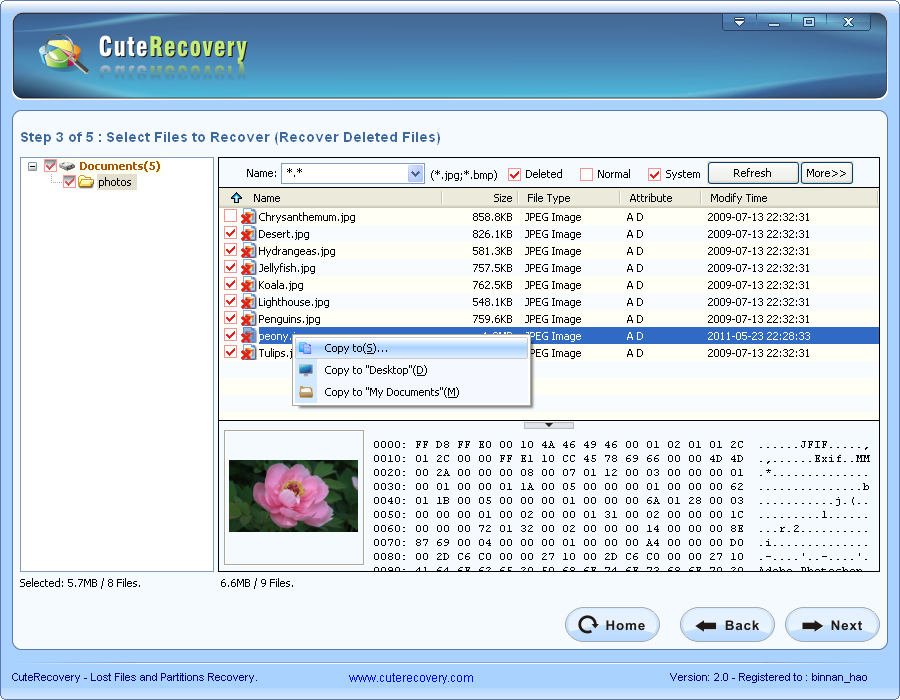
CuteRecovery provide two ways to copy out the recovered files. The one is by context menu. After checking the files and folders to be copied, right click the mouse button, a context menu will popup as the following. Then select a menu item and set target folder to start copying. For more details, see "Copy Files by Context Menu".
Another way to copy out the recovered files is by the wizard. After checking the files and folders to copy, click the "Next" button. CuteRecovery will take you into the next step - "Select Target Folder", shown as below:
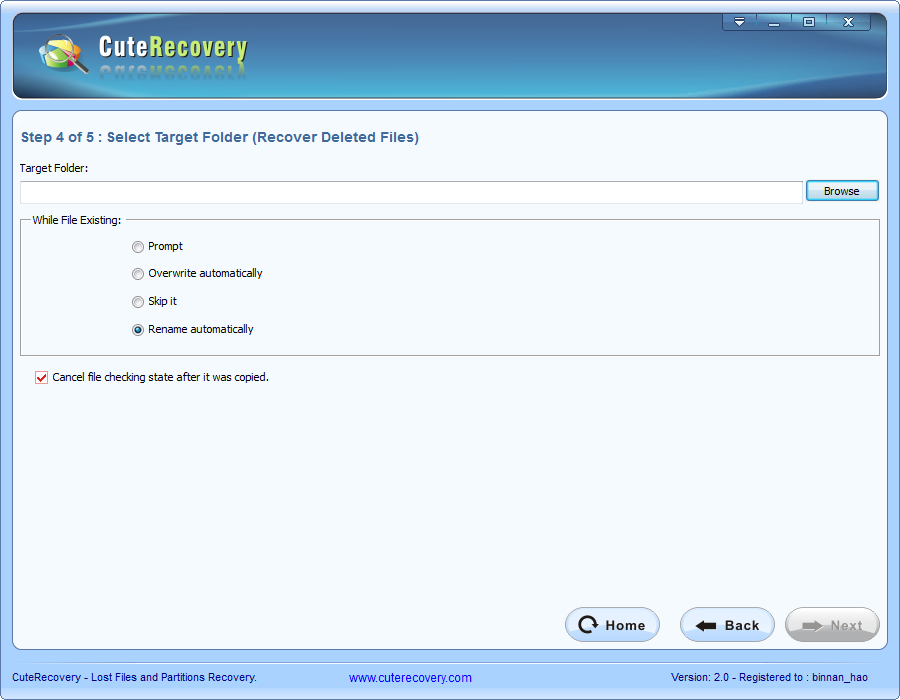
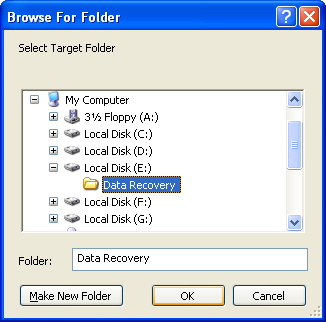
Click "Browse" button to select a target folder. To prevent secondary destruction, please do not set the target folder to the partition which is recovering files.
Before copying, you can set other copying options. The one is about overwriting. When there are same named files exist in the target folder, the program will do corresponding operations according to your settings.
"Prompt" - When the target file existing, ask user to select an operation.
"Overwrite automatically" - When
the target file existing, overwrite
it automatically with the new one, no asking.
"Skip it" - When the target file existing, skip it automatically, do
not copy and no asking.
"Rename automatically" - When the target file existing, rename the
new file automatically, keep the existed file no changed, no asking.
In addition, when the "Cancel file checking state after it was copied" checkbox is selected (by default), the file checking state on previous step("Select Files to Recover") will be cleared after it is copied successfully. When you backward to the "Select Files to Recover" step, you can see the new checking state.

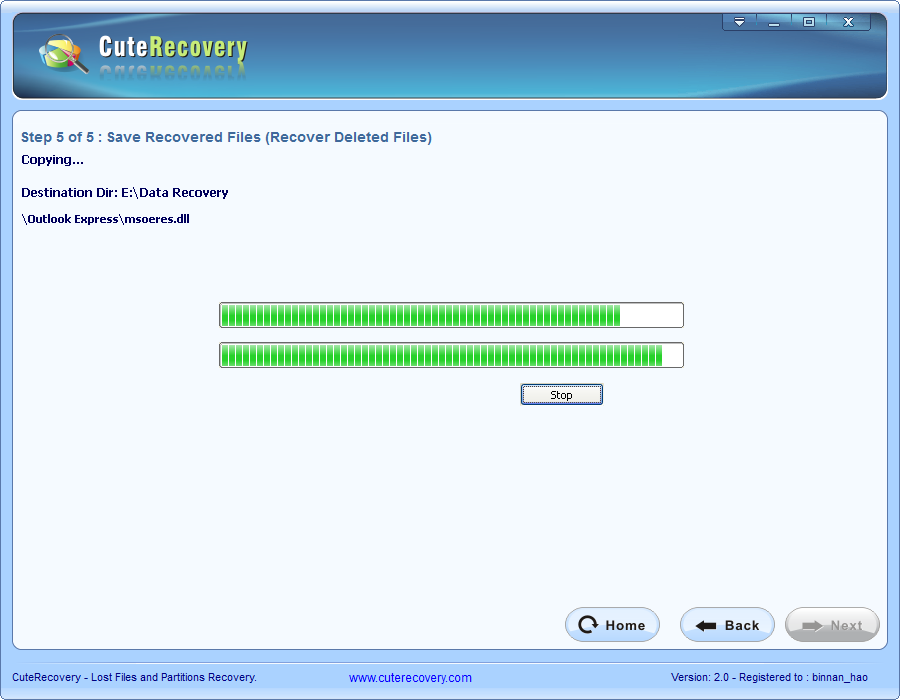
Click "Next" button to start file copying. While you set the target folder to the recovering partition, CuteRecovery will popup the following warning message:

Please select another target folder.
The 5th step - "Save Recovered Files" is shown as the following.
File copying completed:
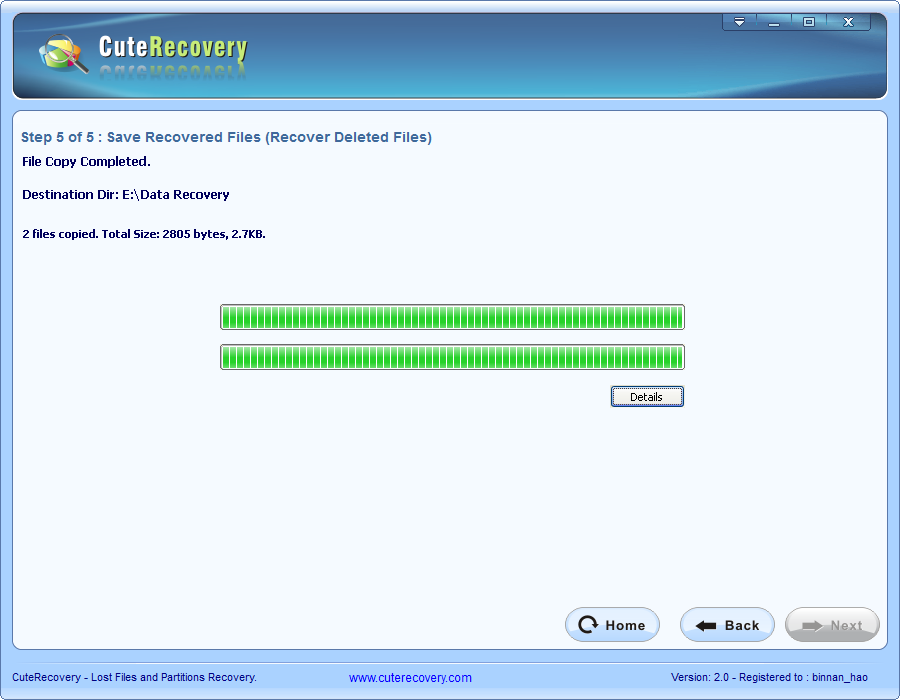
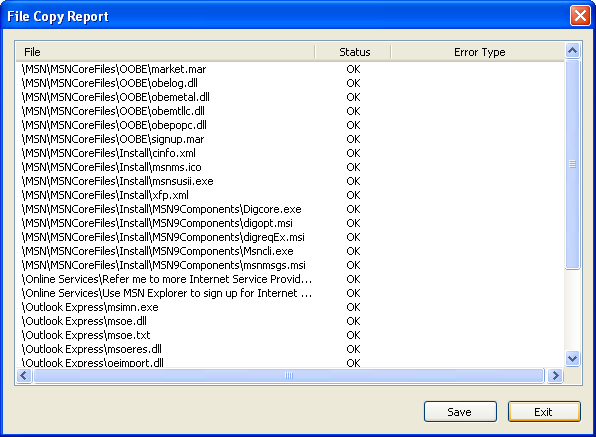
When file copying finished, the "Stop" button will disappear and "Details" button will be shown. You can click the "Details" button to display a "File Copy Report", and then click "Save" button to save the report into a text file.